Page 9 of 16
Re: New member from France with a 1986 Aero 50
Posted: Thu Mar 20, 2014 10:25 pm
by dun rite
The bystarter body on my 94 elite is a two piece unit. Not sure if yours is or not. If it is you could screw the 2 pieces together to make the piston portion closer to the carb body so when it extends it will actually hit the carb seat portion. Think the wiki has a few specs on the actual distance needed for factory.
The above actually assumes that yours is in working order.
Re: New member from France with a 1986 Aero 50
Posted: Fri Mar 21, 2014 7:04 am
by mousewheels
-- Bystarters - from different scooters or clones
Do your best to verify the parts are exactly same as Honda.
The bystarter circuit depends upon a proportional shut down of fuel and air to provide a smooth transition during warm up. I have 2 bystarters which differ slightly from Honda, and it's noticeable.
In the link below, can be seen an OEM bystarter and 2 clones - where the clones are not same as OEM.
Link - Click me
Clone 1 with a longer taper on the fuel needle started up ok, then went rich part way into warm up. It required throttle babysitting to keep idling, until the fully closed. Cause was air was being tapered off faster than fuel. Clone 2 was too short to close.
Re: New member from France with a 1986 Aero 50
Posted: Fri Mar 21, 2014 10:30 am
by GSX1400
That is ONE terrific topic!
So the bystarter I ordered may well give a different sort of functionning because of the needle.
Can I take my Honda OEM needle and put it on the new bystarter?
I don't understand how all this is held in place.
Re: New member from France with a 1986 Aero 50
Posted: Sat Mar 22, 2014 4:26 am
by mousewheels
>> Can I take my Honda OEM needle and put it on the new bystarter? I don't understand how all this is held in place.
I've not tried but it's worth looking into if a used OEM cannot be found. We have pics on our wiki of two disassembled bystarters and one is a clone. Components look similar.
Bystarter Wiki topic link
I'd check if the assembly below can be moved over. Reason is plastic fingers holding the needle are easily broken.
- Needle_and_Air_Valve_Assembly.JPG (16.03 KiB) Viewed 8162 times
- Broken_fingers.JPG (19.68 KiB) Viewed 8162 times
Re: New member from France with a 1986 Aero 50
Posted: Sat Mar 22, 2014 6:38 am
by ped
Hi GSX. I made a manual bystarter. and it worked ok. I will post a photo soon.
it may work for you. till you get a new one.

Re: New member from France with a 1986 Aero 50
Posted: Sat Mar 22, 2014 9:07 am
by GSX1400
I have ordered my new replacement bystarter past thursday. It was shipped the next day, I may get it beginning of next week. So no probs'! I'll use my C50 (Passport) in the meanwhile.
I saw the manual kits to replace the auto bystarters, but I'd like to keep my Aero as close as possible to the original look/specs.
Don't feel like piercing the plastics to install a billet aluminium part...would look strange : the only "tuning" part.
I even saw the same period correct tires to keep the original looks /
http://www.allopneus.com/DUNLOP-K398-3- ... 17279.html
Re: New member from France with a 1986 Aero 50
Posted: Sat Mar 22, 2014 5:31 pm
by ped
GSX1400 wrote:I have ordered my new replacement bystarter past thursday. It was shipped the next day, I may get it beginning of next week. So no probs'! I'll use my C50 (Passport) in the meanwhile.
I saw the manual kits to replace the auto bystarters, but I'd like to keep my Aero as close as possible to the original look/specs.
Don't feel like piercing the plastics to install a billet aluminium part...would look strange : the only "tuning" part.
I even saw the same period correct tires to keep the original looks /
http://www.allopneus.com/DUNLOP-K398-3- ... 17279.html
Hi GSX. LOL what was I thinking. yes! keep that SWEET, CLEAN looking aero stock.
the passport is really cool too.

Re: New member from France with a 1986 Aero 50
Posted: Tue Mar 25, 2014 10:13 am
by GSX1400
I have, already, received my bystarter.
They are VERY much look alikes.
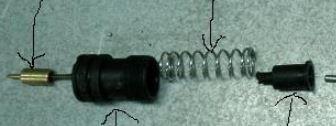
I measured the needle and piston and they have the same size, profils look the same and the distances between bottom of the plastic part and the base of needle/piston are the same.
The noticable differences are :
Overall height is taller on replacement part and the plug is different.
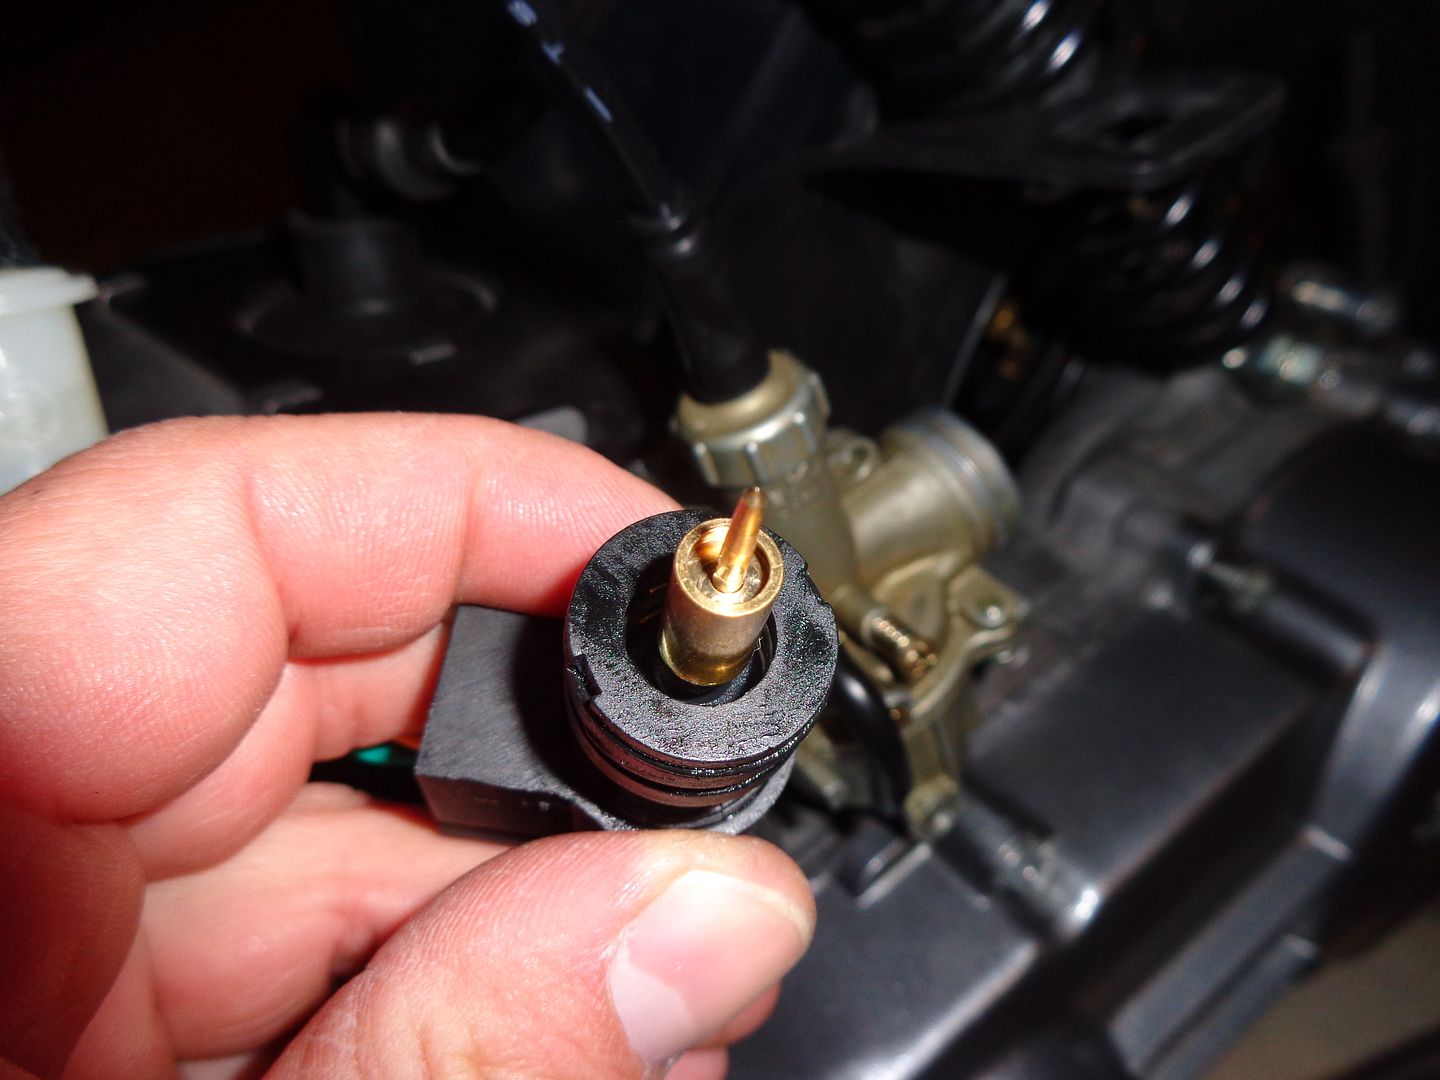
Pictures (the OEM one is the one with grease on the oring) :
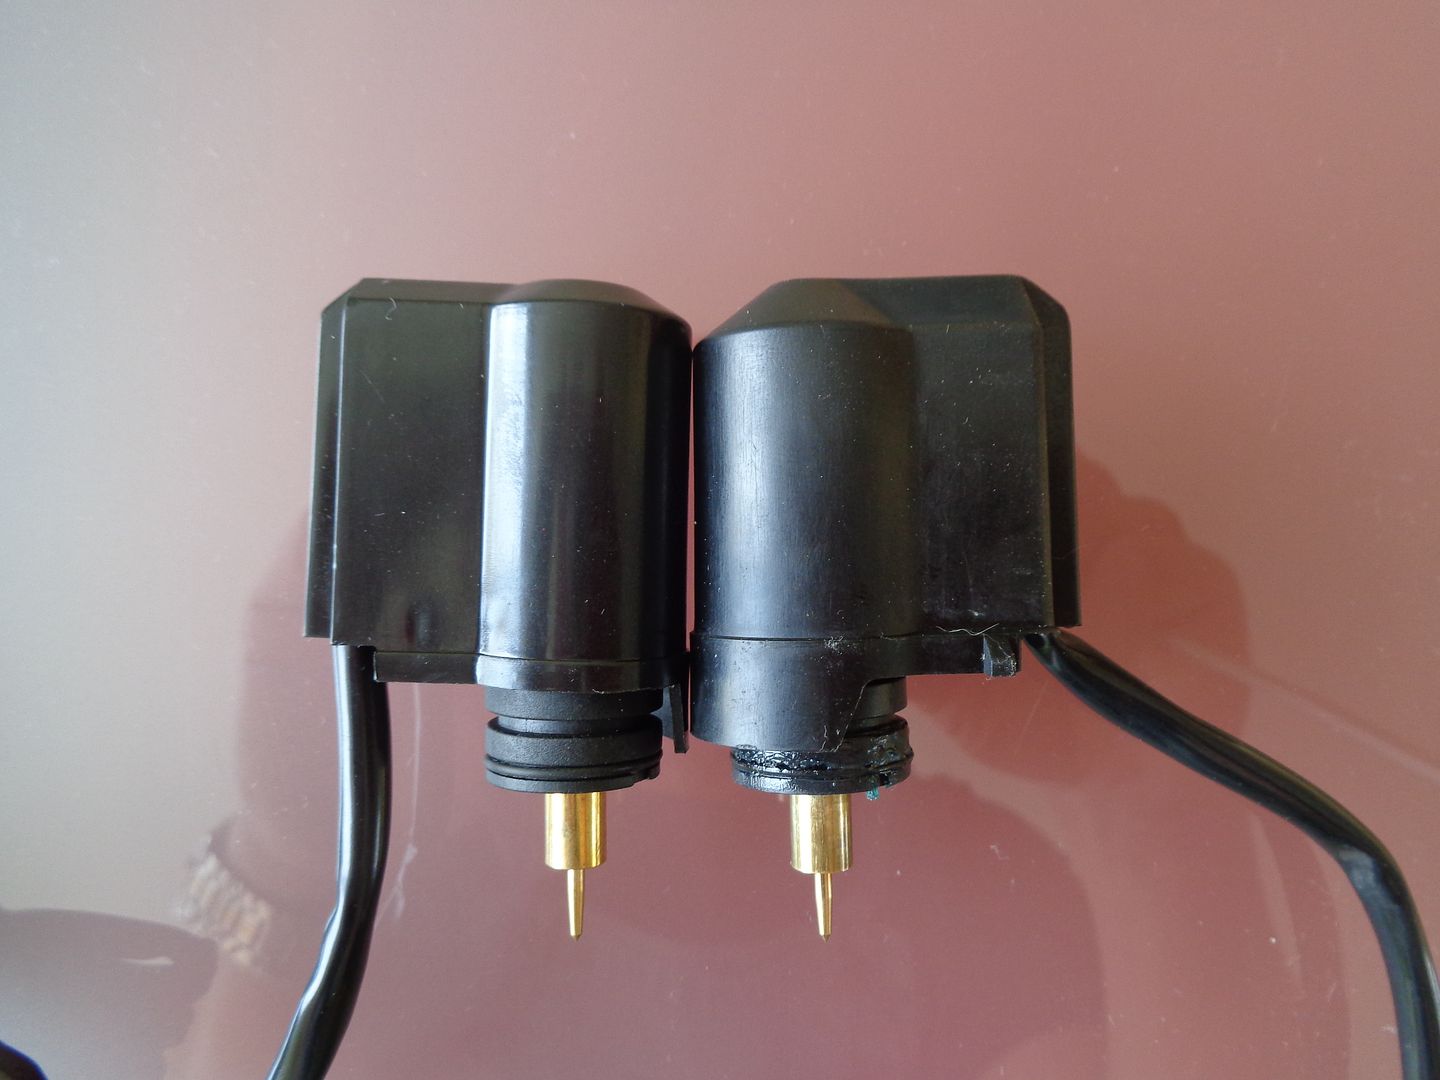
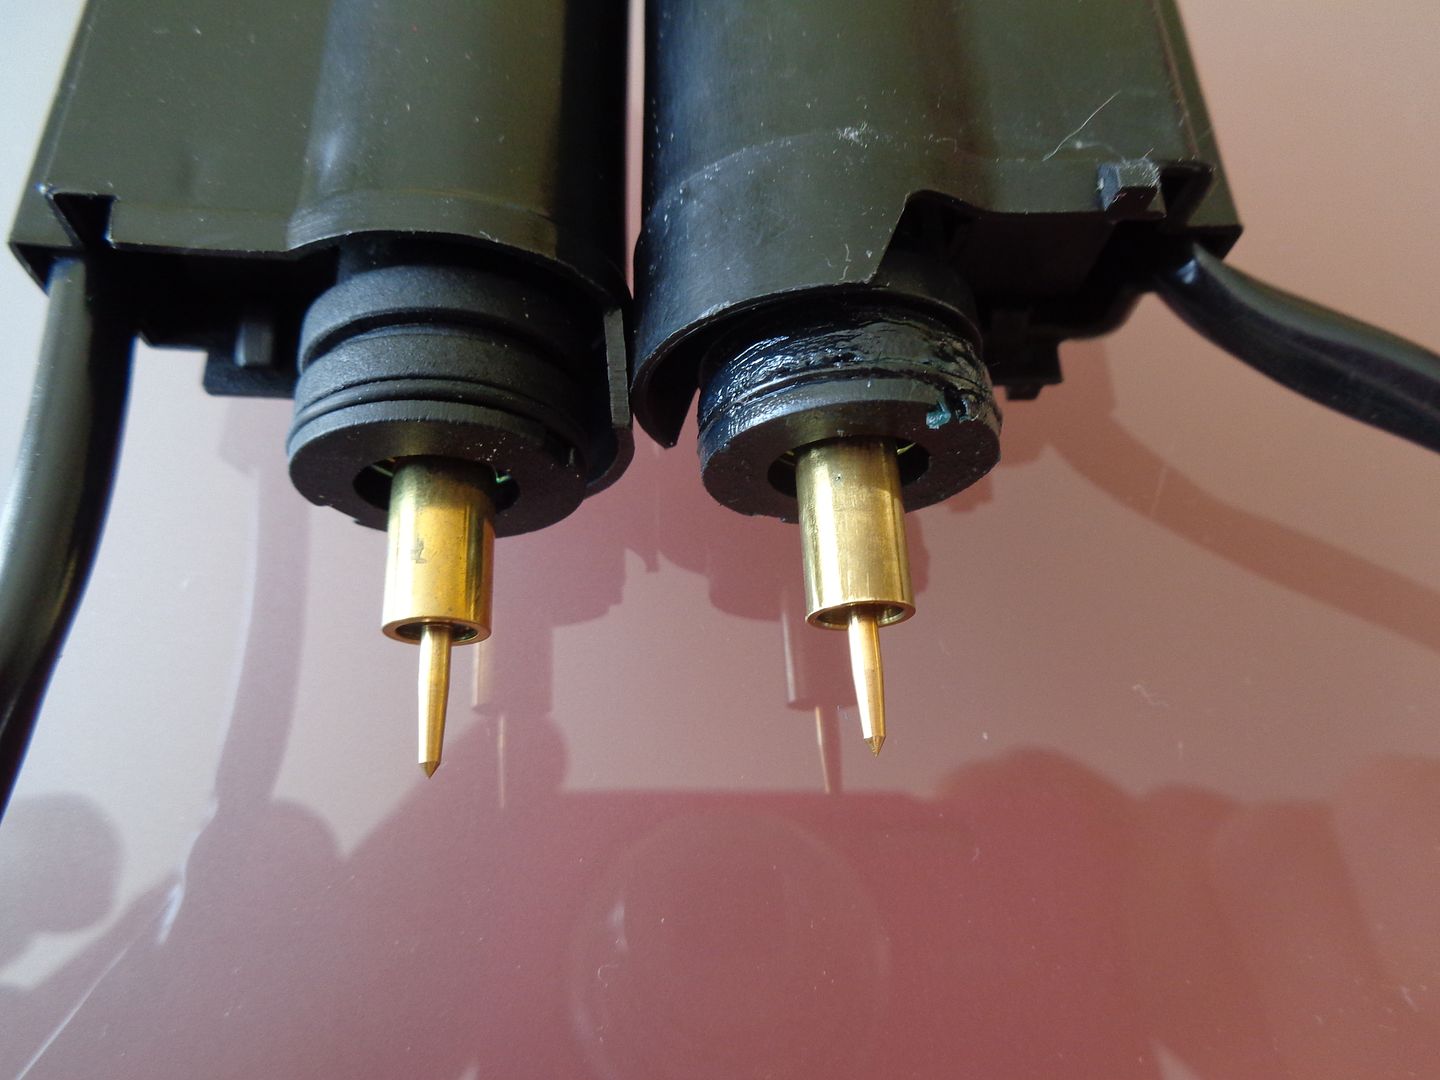
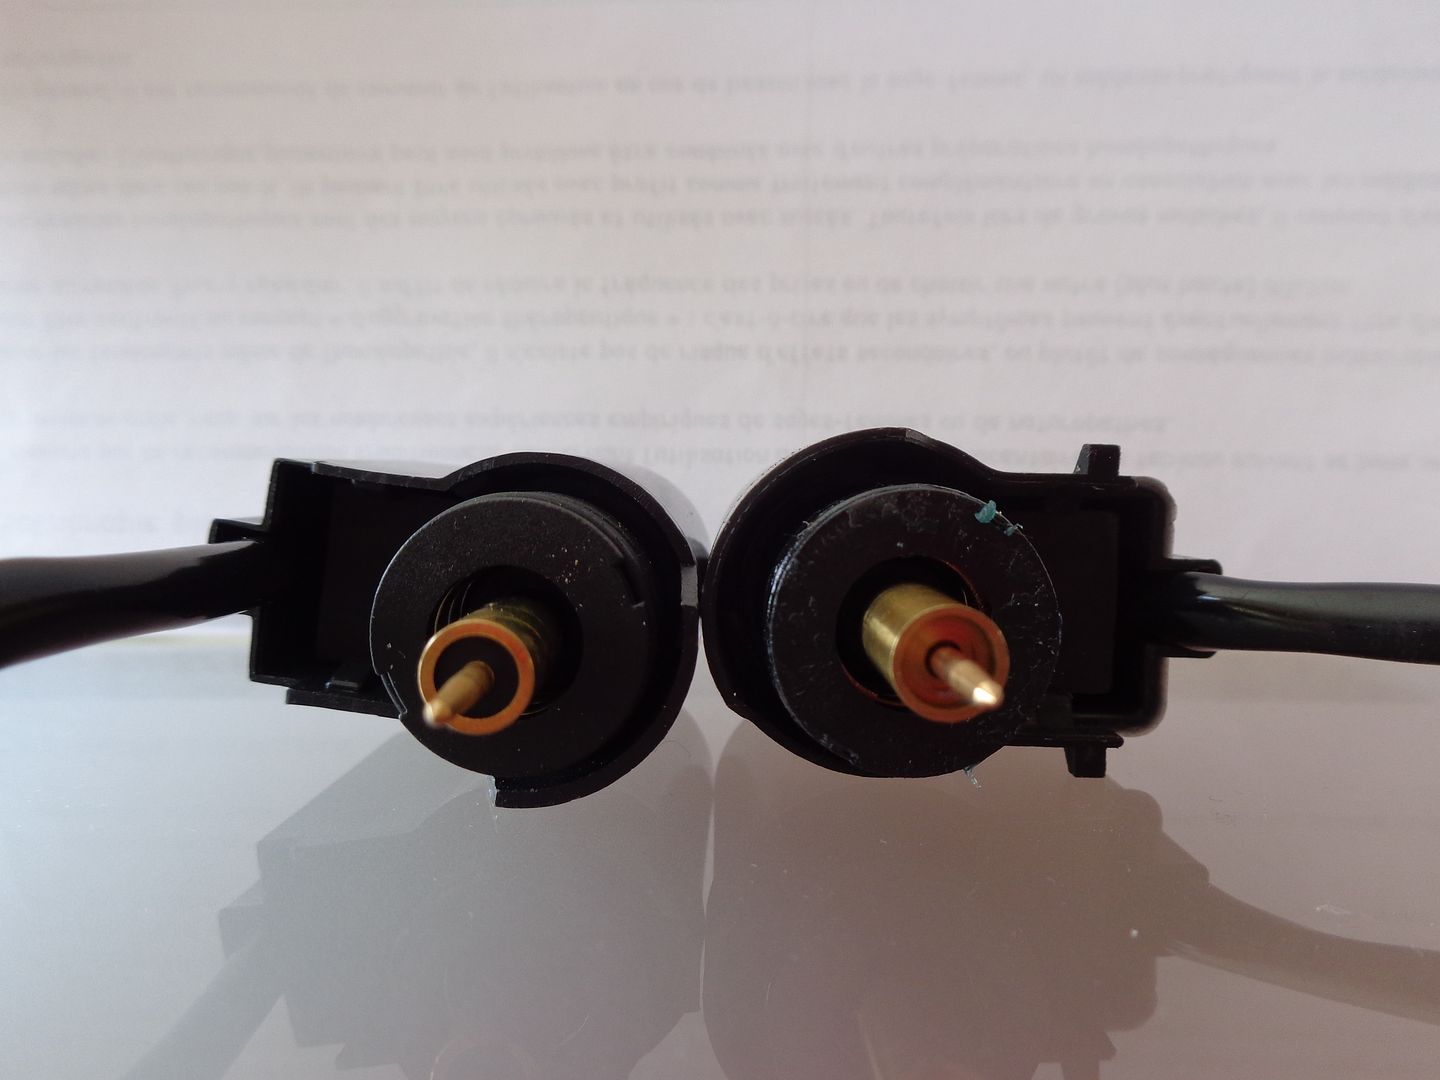
I had already noticed that my pistons base seems to be missing a sort of rubber gasket (the black part that you can see VS brass on the OEM part). Maybe that's why the bystarter couldn't shut off completely when hot.
Where could this rubber thingy have gone???
Re: New member from France with a 1986 Aero 50
Posted: Tue Mar 25, 2014 1:00 pm
by PorterGuy85
Jeesh, I need to get my Reed out to check it. Took out the 2 bolts last night and I can practically pick the bike up and it still won't come off!!! :-0
Sent from my SPH-D710VMUB using Tapatalk
Re: New member from France with a 1986 Aero 50
Posted: Tue Mar 25, 2014 3:24 pm
by GSX1400
Yes, it can be very hard to take off, stuck by time/age!
Be carefull not to ruin the "plastic" part that supports the reeds by prying off the parts.
BTW, does anyone know of a place to buy complet reeds (plastic and metal part plug and play)? I can't find any here in France. Ready to buy out of the country...
So, I did a test after putting in the new bystarter.
The pressure test when hot is better. It almost keeps the pressure, that is to say the pressure slowly goes down and not freely as before.
BUT, the darn thing still won't idle when hot! It slowly stalls as the engine heats up.
I continued with my tests.
* Engine running and hot, if I unplug the bystarter and wait a while it will slowly idle better and better (I can help it with the throttle until it gets ok) until everything is normal.
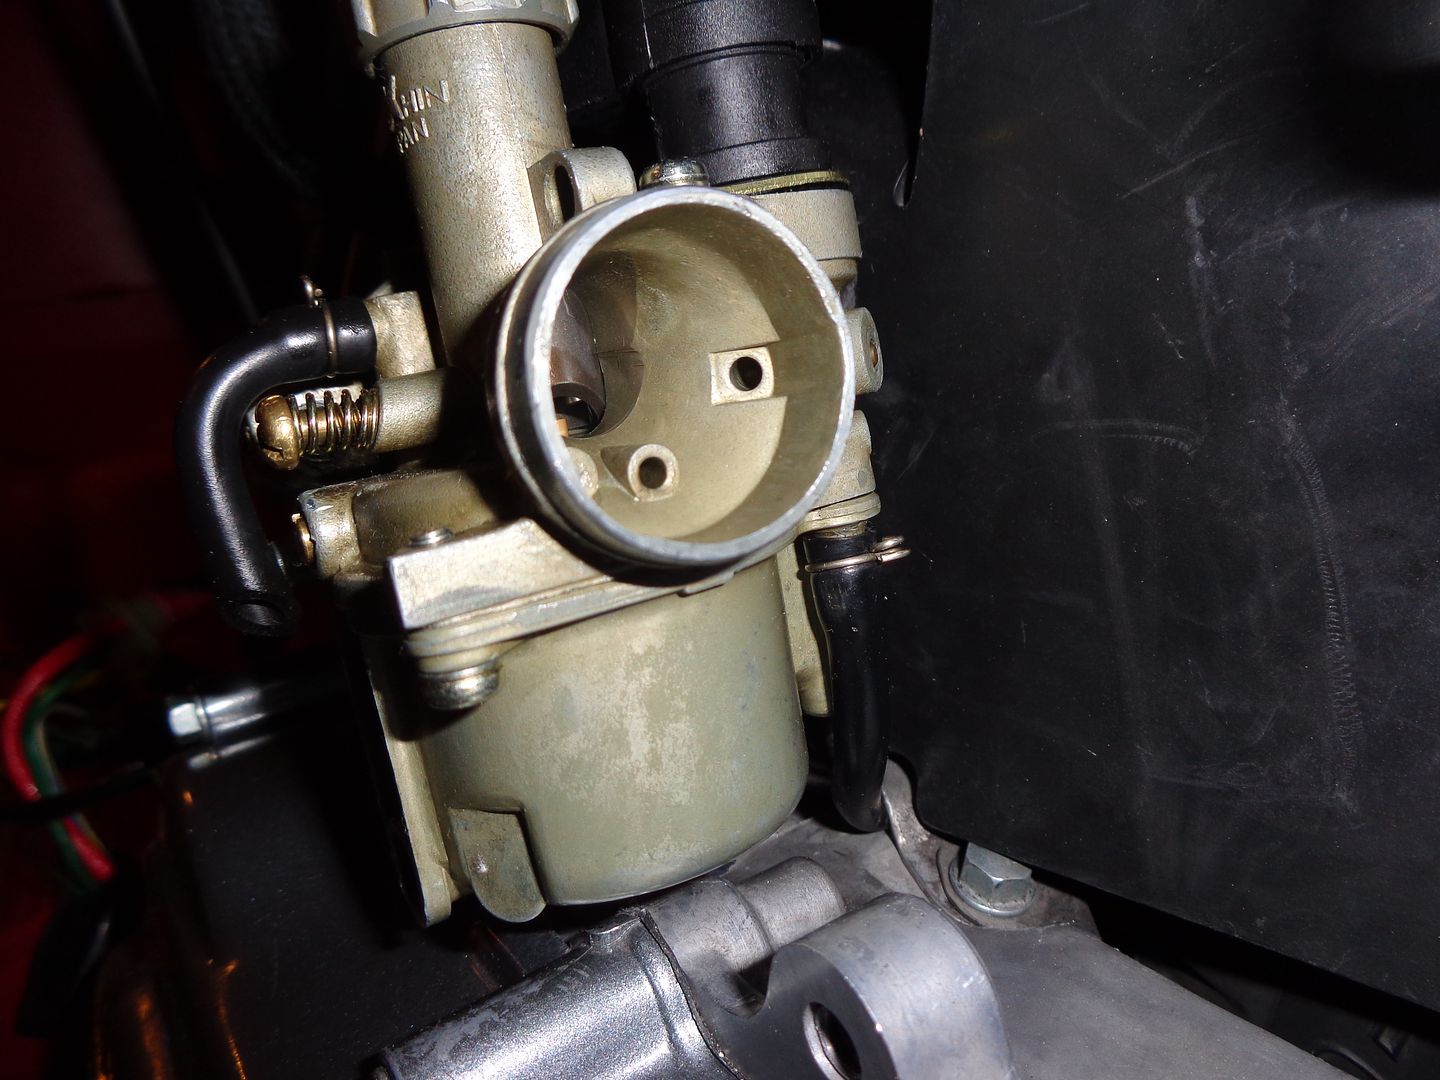
* Engine running and hot, bystarter plugged, the inlet for air for the bystarter (airbox removed of course) still draws air in. If I plug this hole, it stalls.
Is this supposed to be : air always drawn in by the bystarter even when hot?
If it is, should the engine stall when I plug this hole?
If not, maybe my carb' is still not clean enough somewhere...
What is going on with this carb???
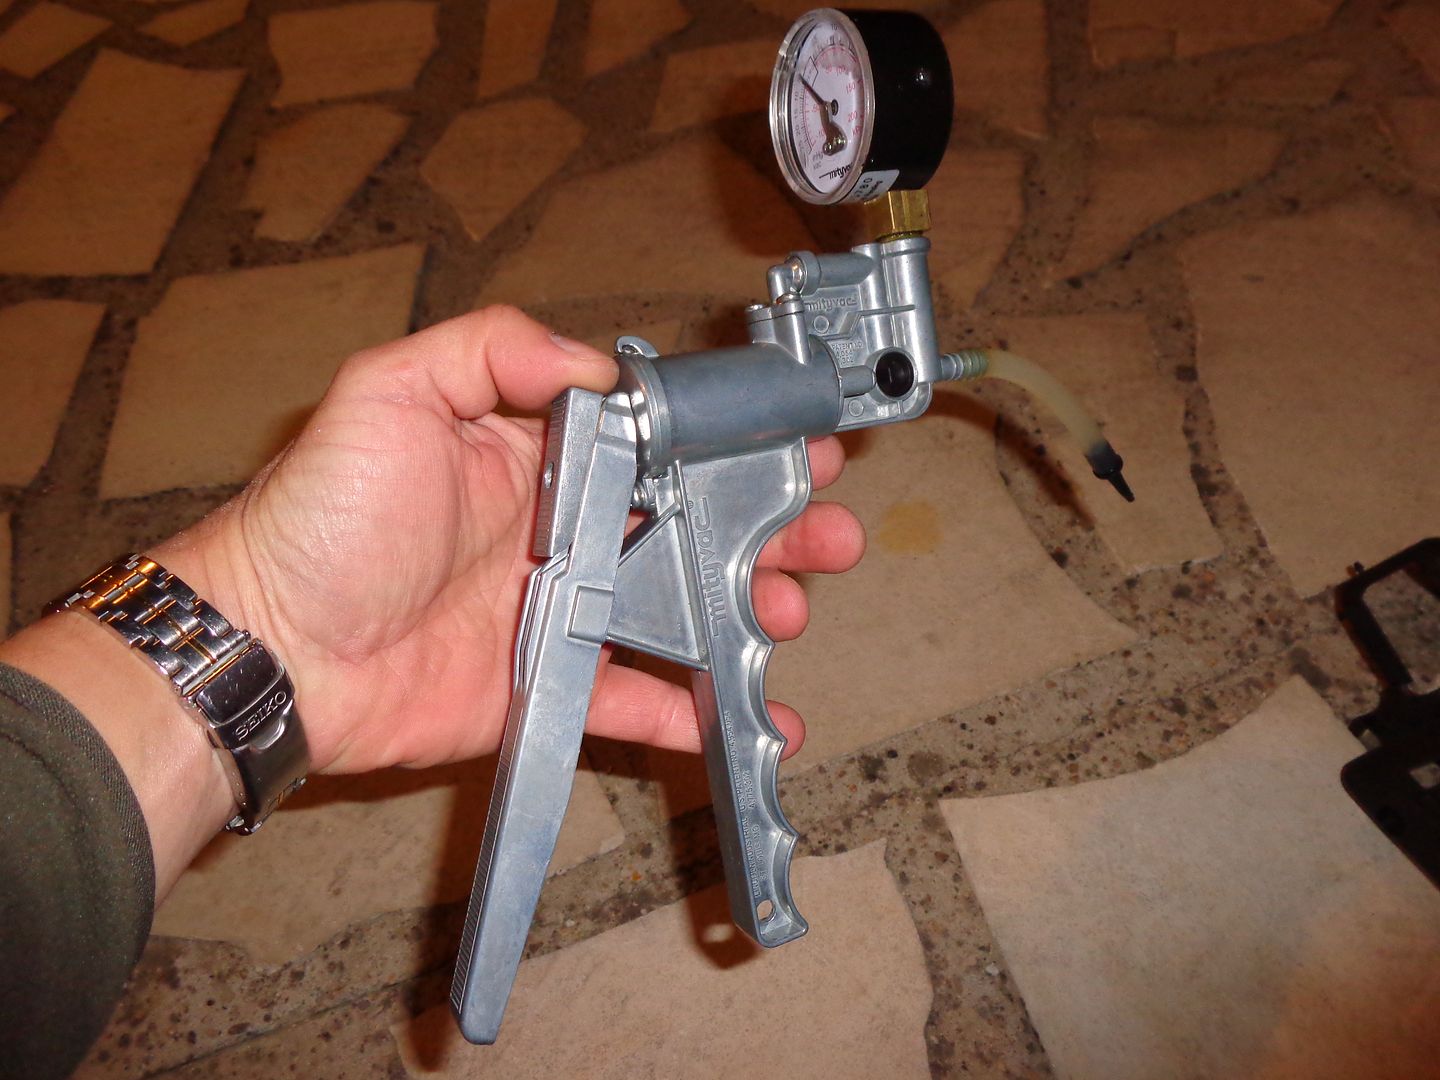
Tonight, I'll be taking it apart, again, and doing pressure tests for all the circuits with my Mityvac pump.
If you have any ideas...
Posted: Tue Mar 25, 2014 6:51 pm
by PorterGuy85
Gotcha, I'm probably going to just leave it on & blow some compressed air in there. (Crossed fingers)
Sent from my SPH-D710VMUB using Tapatalk
Re: New member from France with a 1986 Aero 50
Posted: Thu Mar 27, 2014 10:30 am
by mousewheels
Hi - You have already found the carb info
thread update - Link
Summarizing -
OEM bystarter has no rubber seal at tip
Clone rubber seal may limit travel of the bystarter to the point the air valve will not fully close
--
I don't know if the rubber seal is the issue with your carb, but two of your points make me think there is too much air passing through the bystarter circuit when it's extended
>> * Engine running and hot, bystarter plugged, the inlet for air for the bystarter (airbox removed of course) still draws air in. If I plug this hole, it stalls.
>> Is this supposed to be : air always drawn in by the bystarter even when hot?
Not a lot of air, just slight leakage past the slide fit tolerances.
>> If it is, should the engine stall when I plug this hole?
I do not think the engine should stall if the bystarter is fully extended.
Re: New member from France with a 1986 Aero 50
Posted: Thu Mar 27, 2014 11:00 am
by GSX1400
I have done some tests and the scoot now looks like it is working again.
I will do a road test drive this afternoon and be back for more feedback.
See you!
Re: New member from France with a 1986 Aero 50
Posted: Thu Mar 27, 2014 2:38 pm
by GSX1400
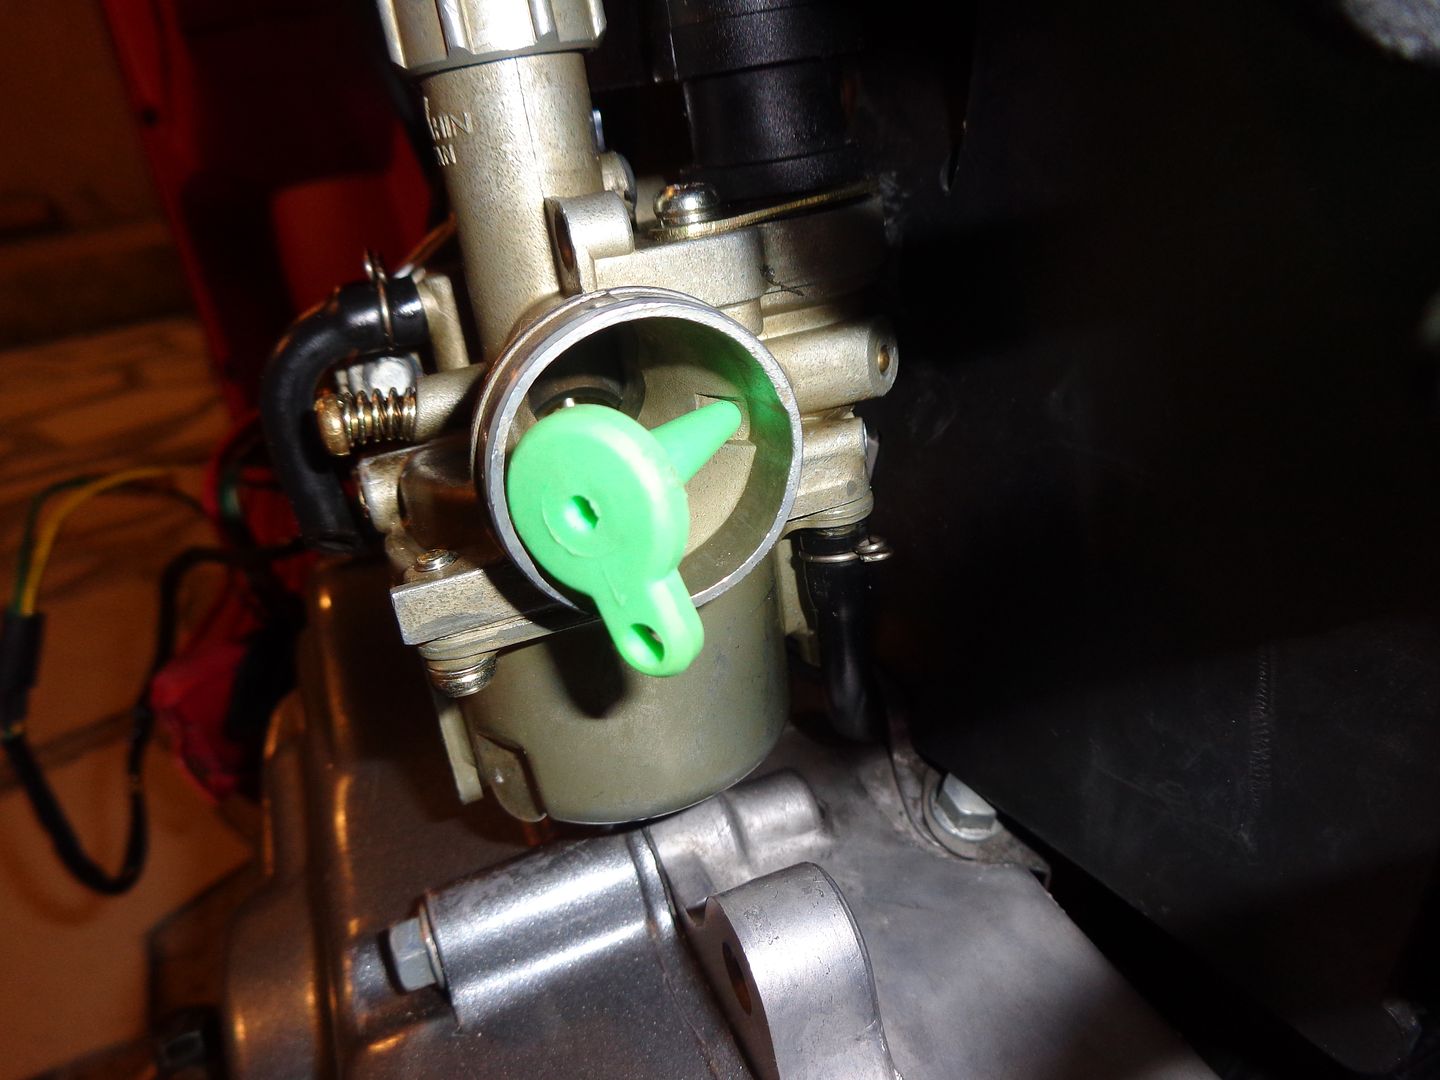
Well, I'm done with all this it seems.
I finally took out the rubber seal and it is working ok now.
Did 20 kms and 5 restarts. Everything is working as it should.
Here are some pics and videos.
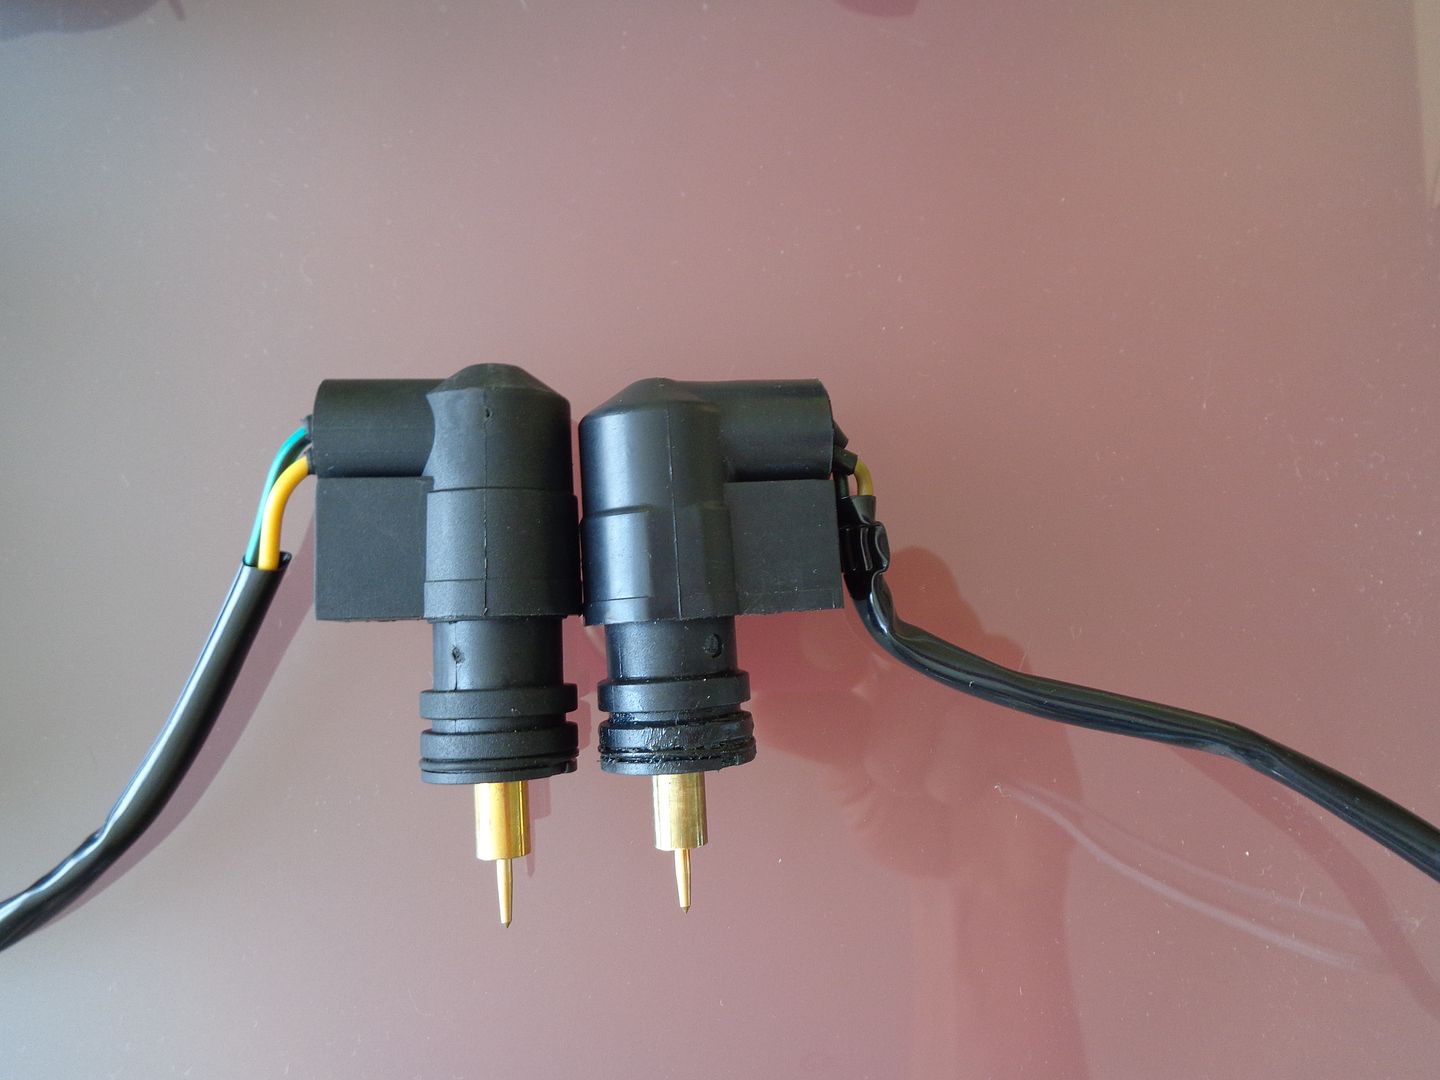
The reference for the bystarter
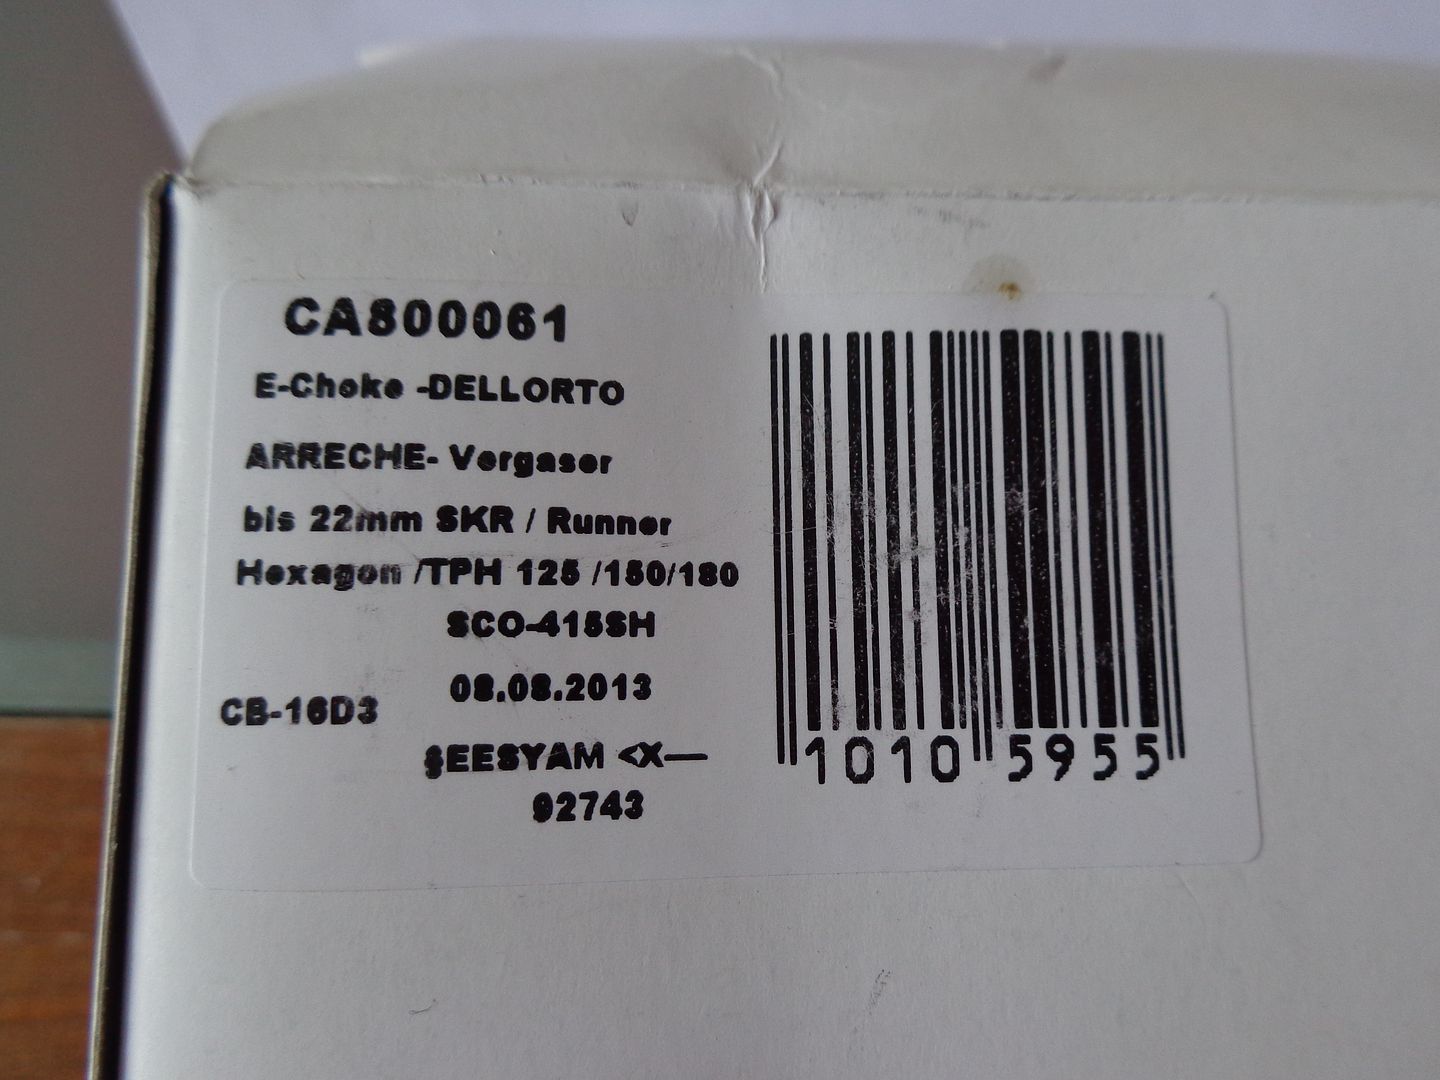
As you can see above, the replacement bystarter looks very much like the OEM one.
Except for the rubber seal.
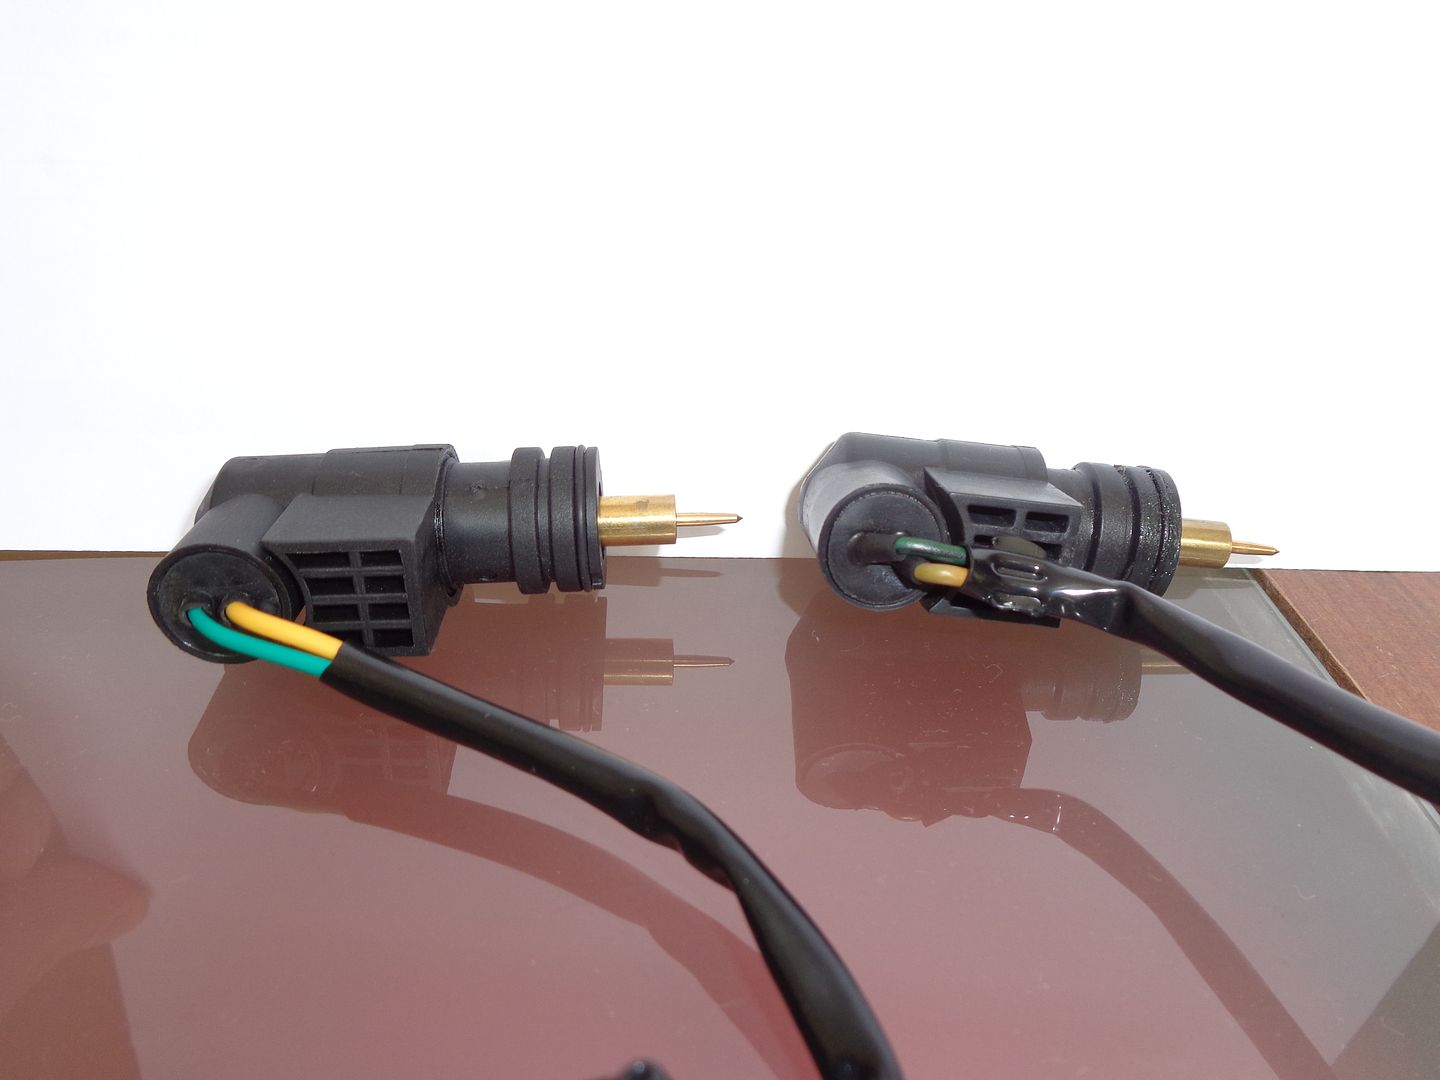
I measured things and had a close look at the needle.
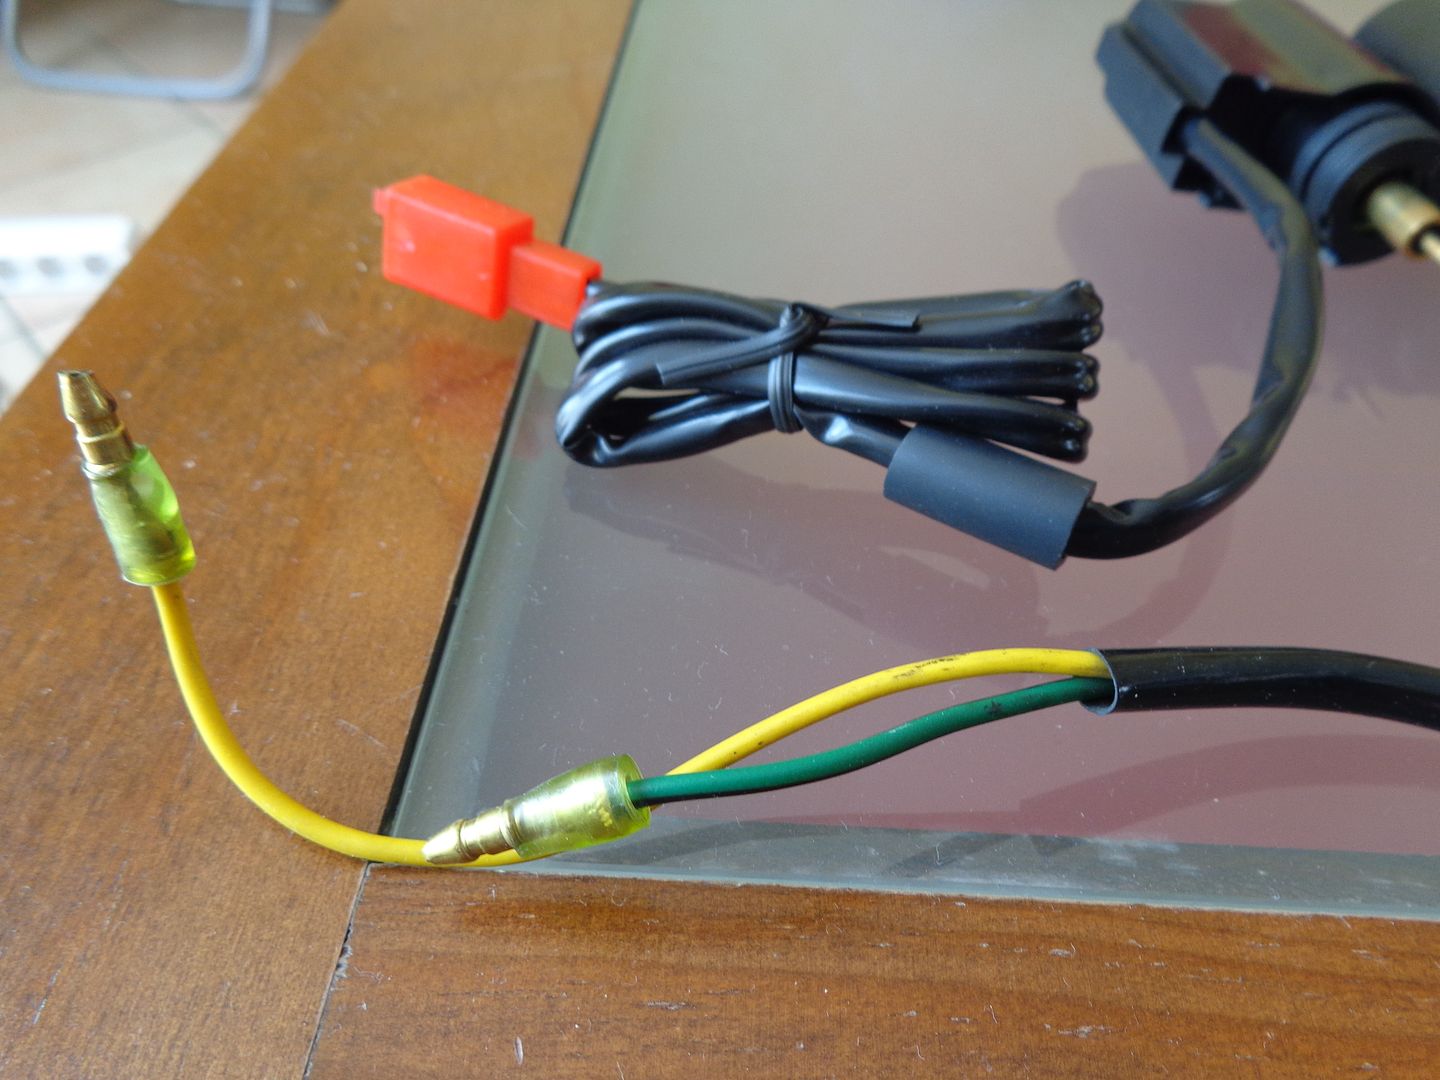
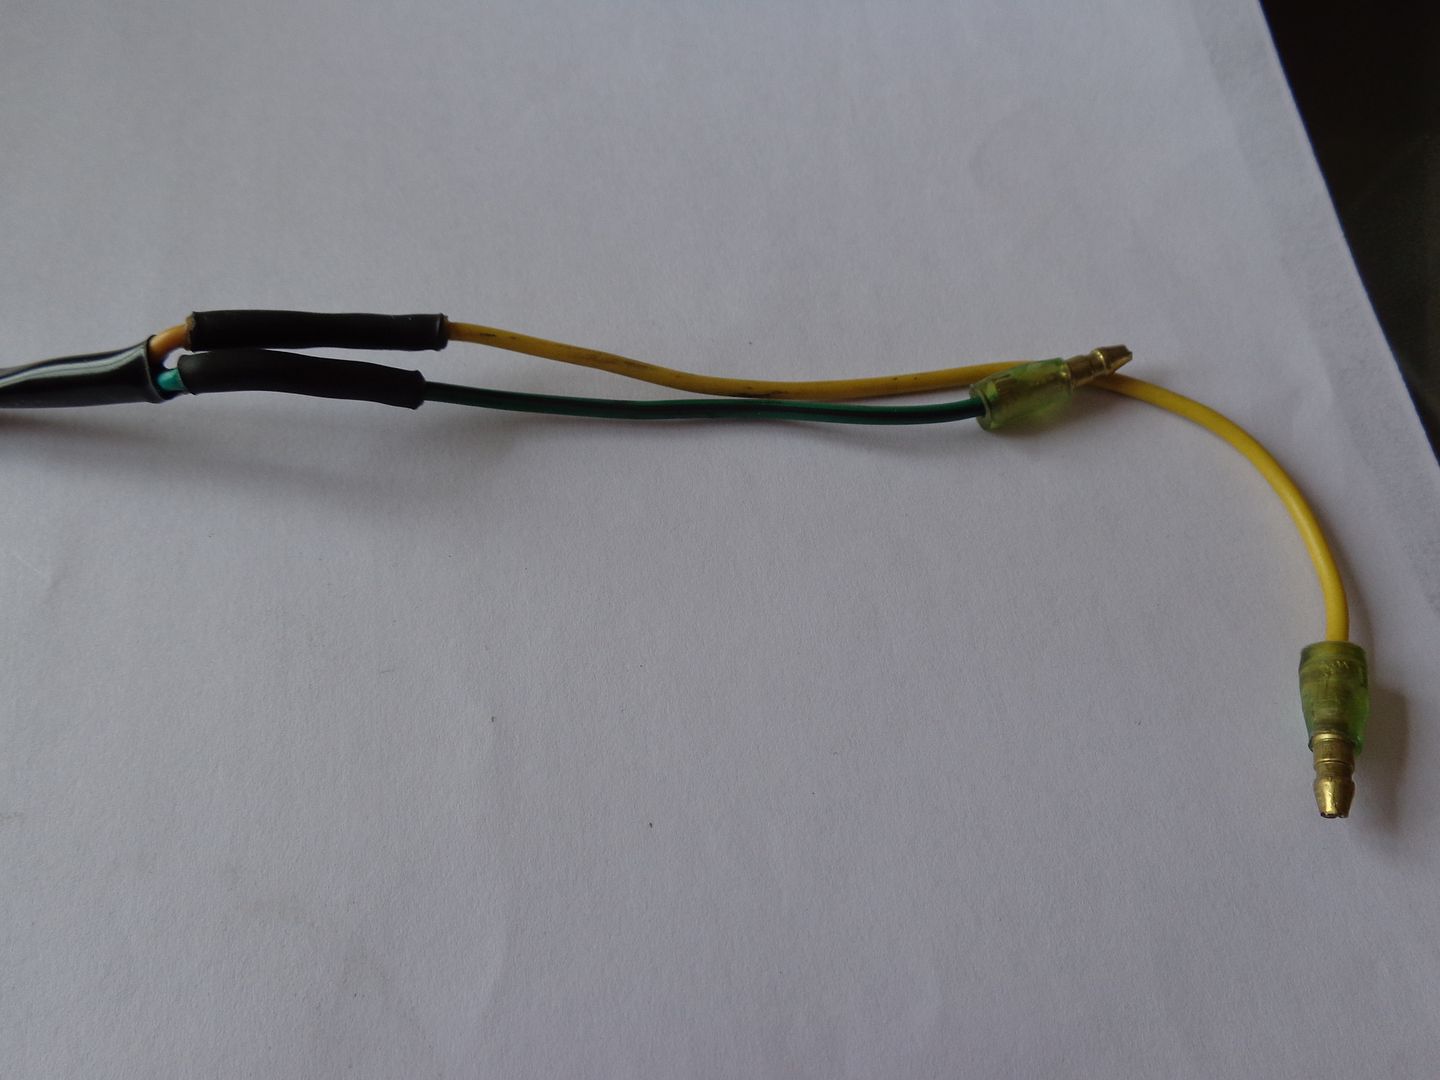
I replaced the red connector of the replacement part by the OEM bullet connectors by cutting some wire and soldering it to the new ones.
I cut the old wires keeping a bit of advance in case I have to change the bystarter again.

Some tubing that retracts with a heater to protect my solders
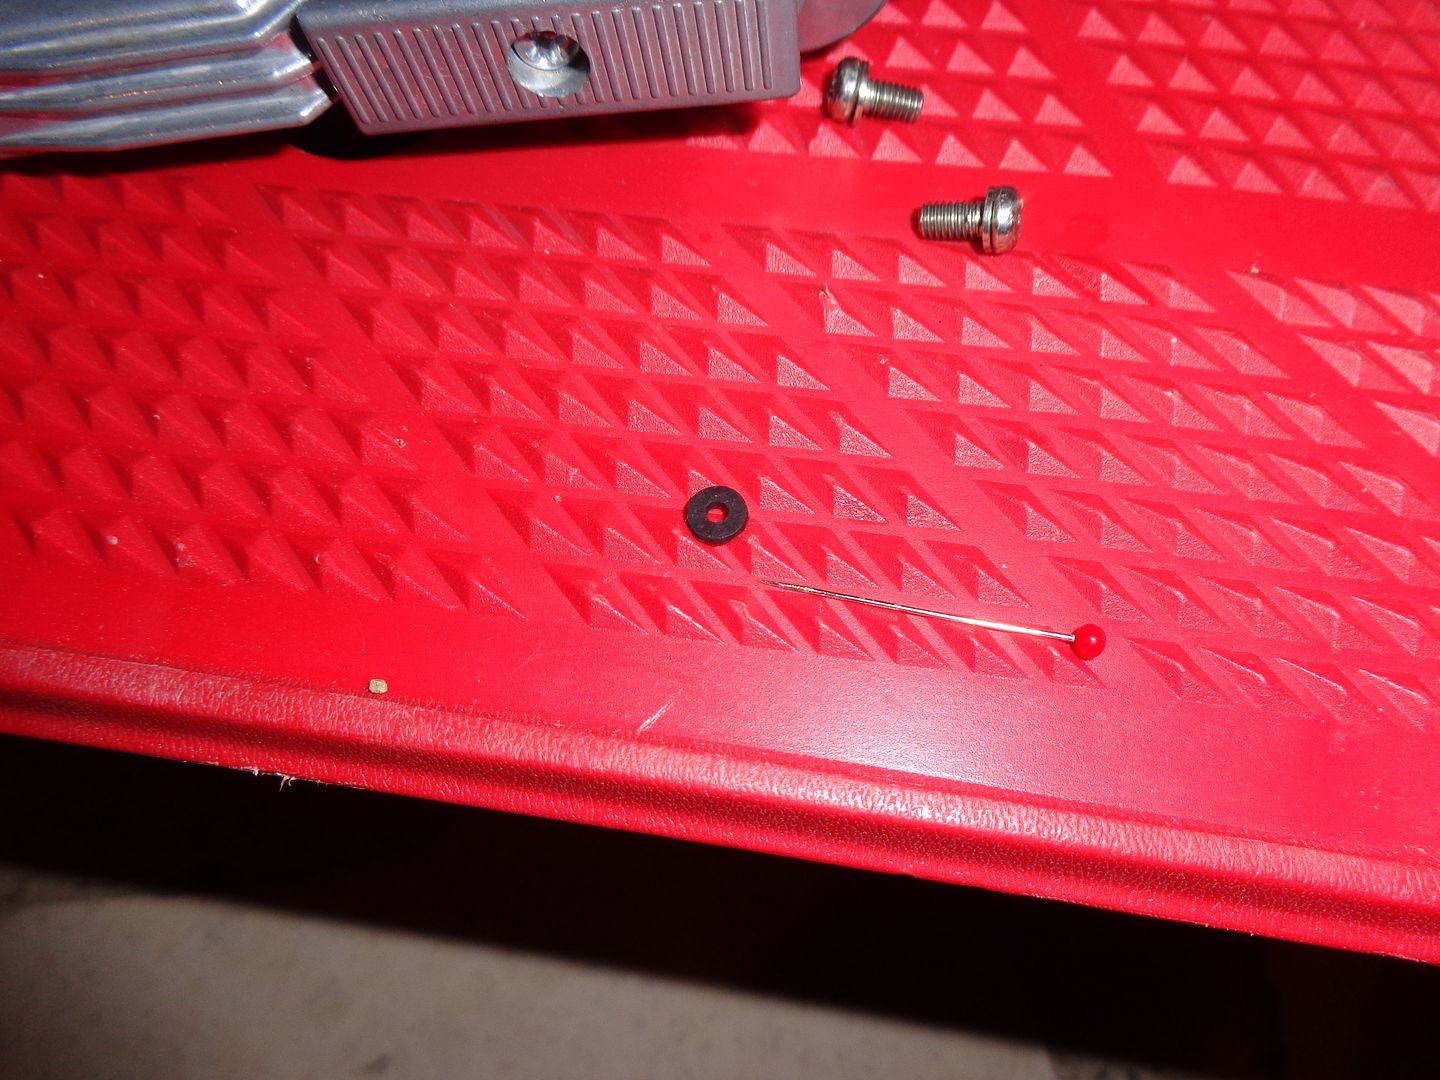
Rubber seal out
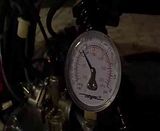
Testing the carb
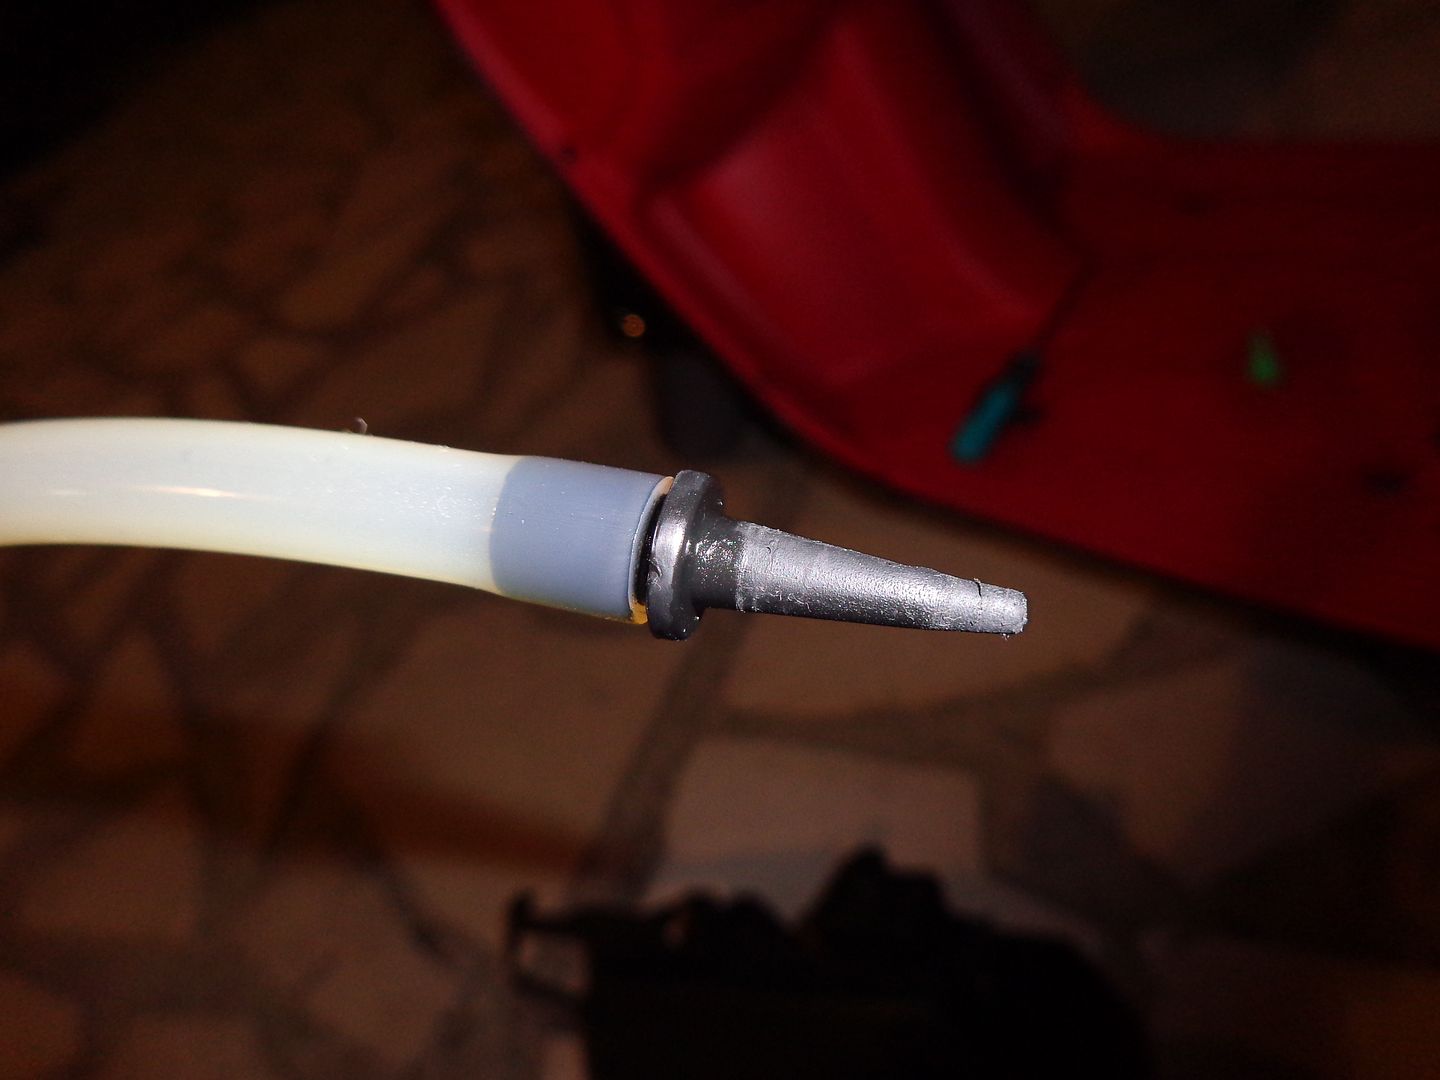
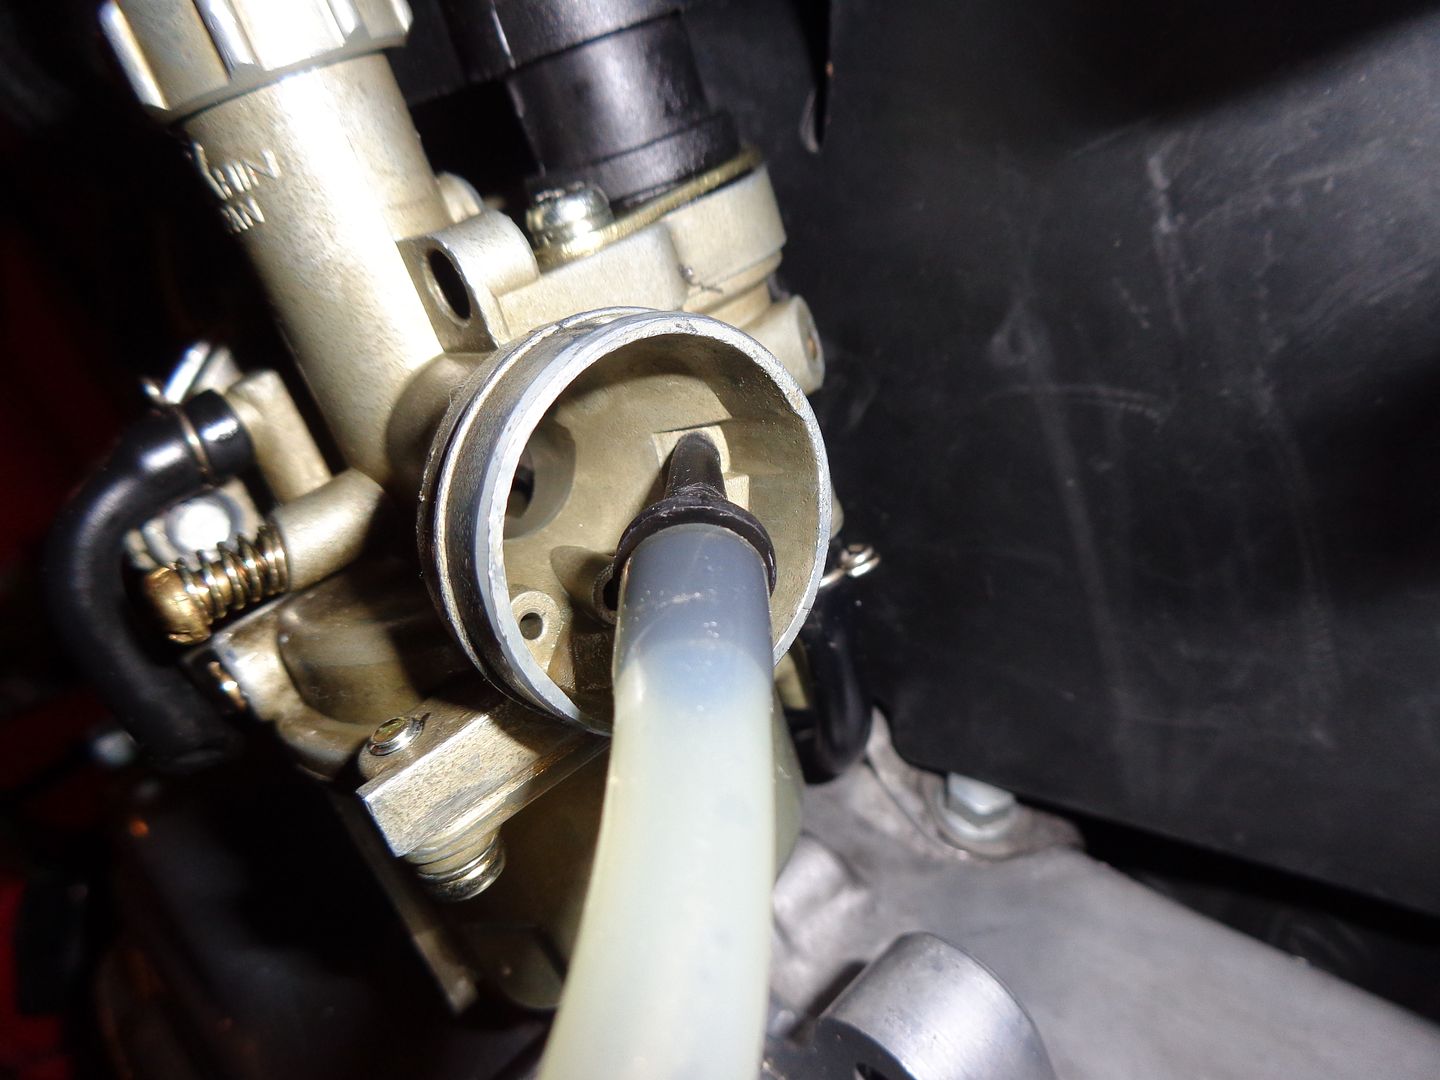
This could be considered as an acceptable air leak on a working bystarter (it works well on mine) :
Sweet start and idling (at hot)

I am sure of one thing...my carb must be very clean now that is has been passed through the ultrasonic machine 3 times!!!
MANY THANKS TO MOUSEWHEELS for all his work on the research on these bystarters. It was very usefull.
I don't think I would have tried to take the rubber seal off without his topic on these bystarters.
Re: New member from France with a 1986 Aero 50
Posted: Fri Mar 28, 2014 1:16 am
by ped
Hi GSX.
Mousewheels. is very good with info like that. good to see your scooter running great.
I was going to say my bystarter does not have the rubber gasket. but mousewheel to the rescue.