How-To: 87 Spree Glovebox Installation on Earlier Years
Posted: Wed Sep 26, 2012 10:34 pm
Allright, first mod for my Spree. I have another really cool mod coming up for my Spree involving the glove box, so check back for that one. So, without further a do, here's how I installed an '87 glove box onto my '85.
OTHER PART TO GLOVEBOX MOD HERE: viewtopic.php?f=1&t=25673
*EDIT* FINALLY got the pics to work...
Parts checklist:
Hacksaw
Drill bits
Drill
Dremel w/sanding wheel
File
Sandpaper
Phillips screwdriver
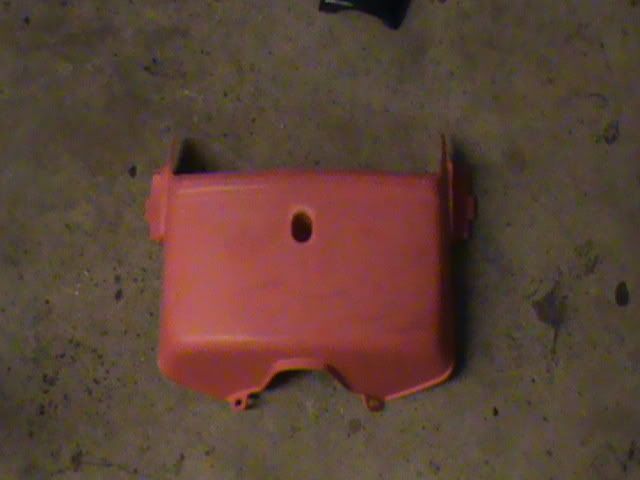
Glovebox
Plastic filler/bondo
OPTIONAL:
'87 turn signals
If you're installing the 87 signals with the box, bolt them to the box. You only need to use steps 1,3,and 6.
Step one: Remove the front horn cover and remove the wires leading to the signals. There should be a single-to-dual wire connector with the single wire being green. That's your ground for both signals, disconnect the bullet connectors. Then there are a blue wire and an orange wire, disconnect them as well. Now remove the front signal brackets by removing the 4 bolts on the front plastic. Remove the bracket from the plastic. Pull the wires through the holes in the plastic.
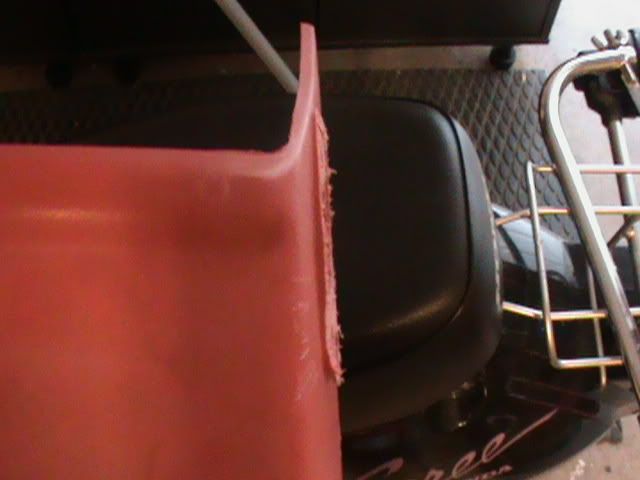
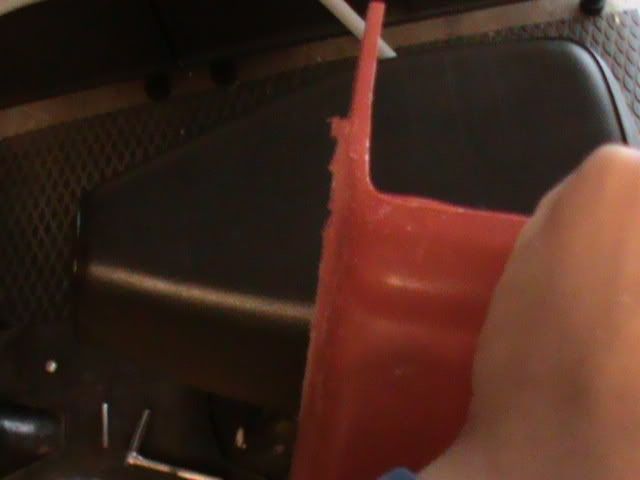
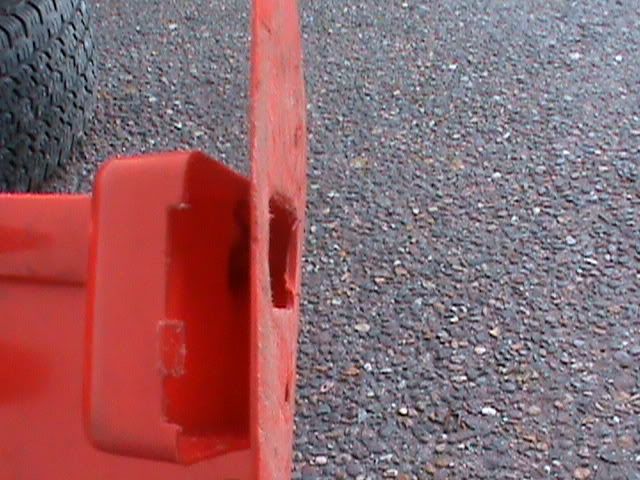
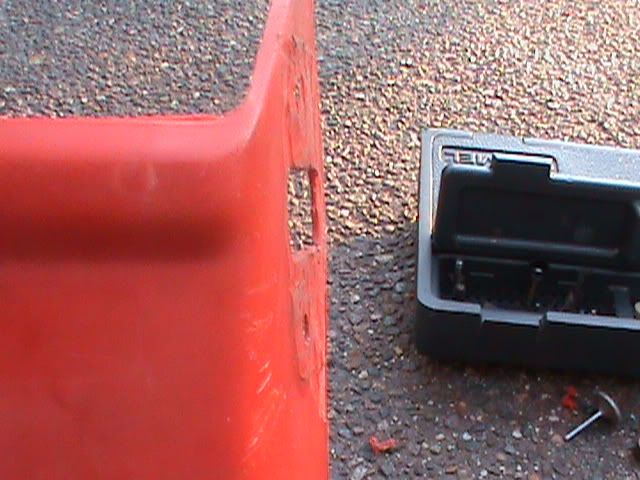
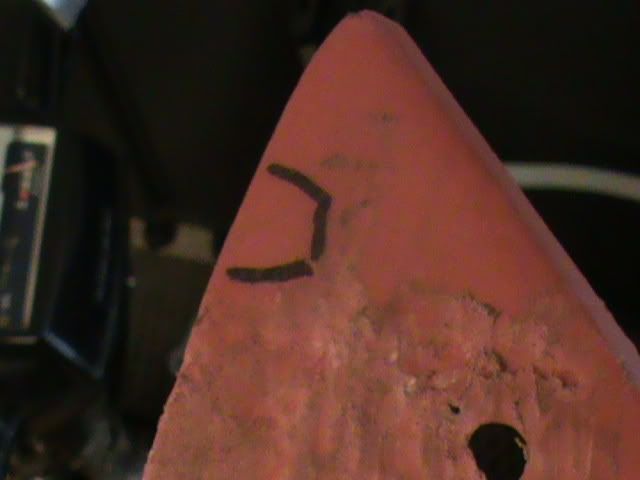
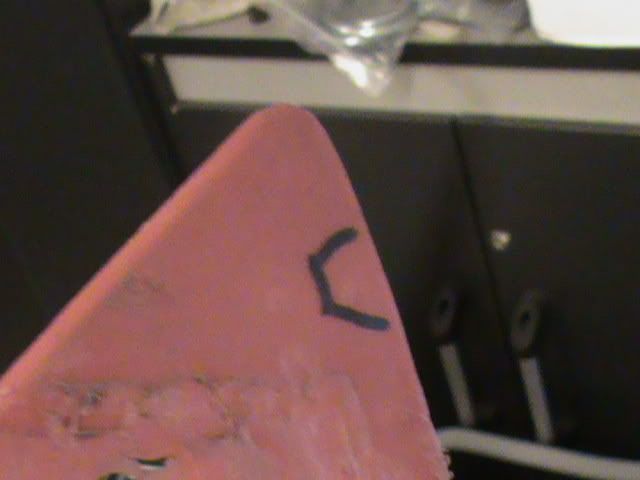
Step two: Now that we have the signals off, let's go ahead and cut off the built-on signal mounts. I used a hacksaw and cut as close to the box as I could. Here's a picture showing after the sides were hacked off...
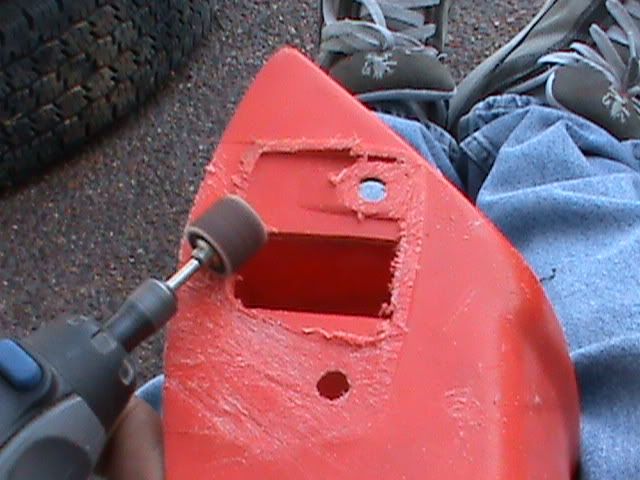
Now we need to use the Dremel to get the panel as smooth as possible. Use a low-medium speed, and don't just stay in one place. Go in a back-and-forth motion, taking off a little here, a little there. The better of a job you do now, the less you'll have to replace with plastic filler. Remember, you don't want to hack up the plastic, you just want to shave it off.
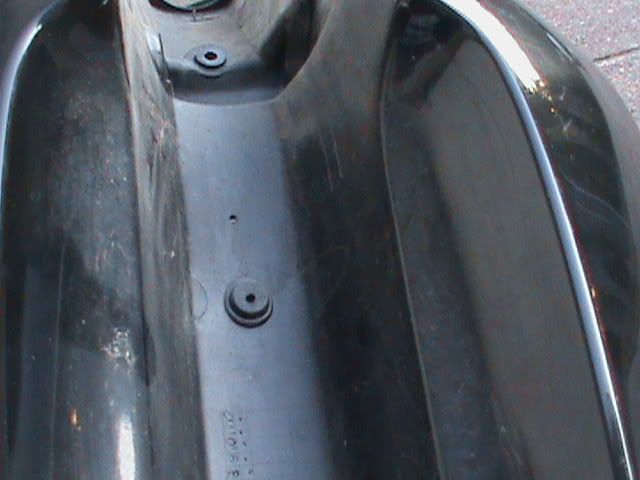
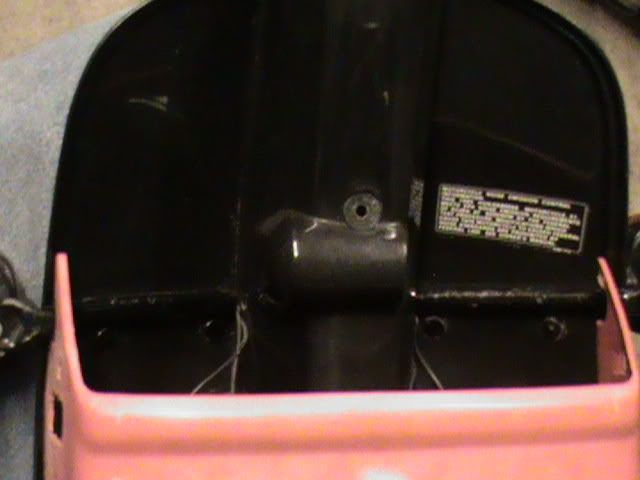
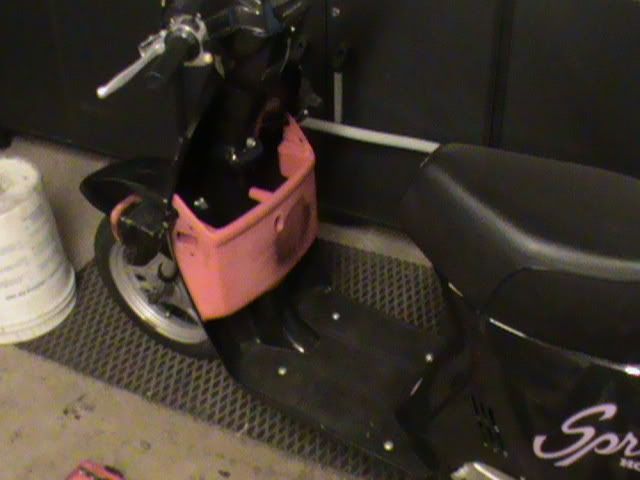
Step three: Remove the four floor panel bolts and remove the one bolt that holds the front leg-shield panel on. Pull off the leg shield. If you look on the decal side of the shield, You can see where the hole is supposed to be drilled for the glovebox... In the center of the ring. Use a 1/8" drill bit. Screw the glovebox on and drill the other two holes at the bottom of the box.

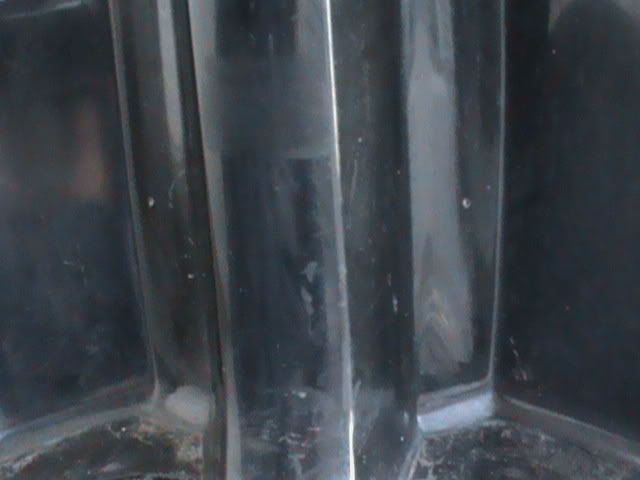
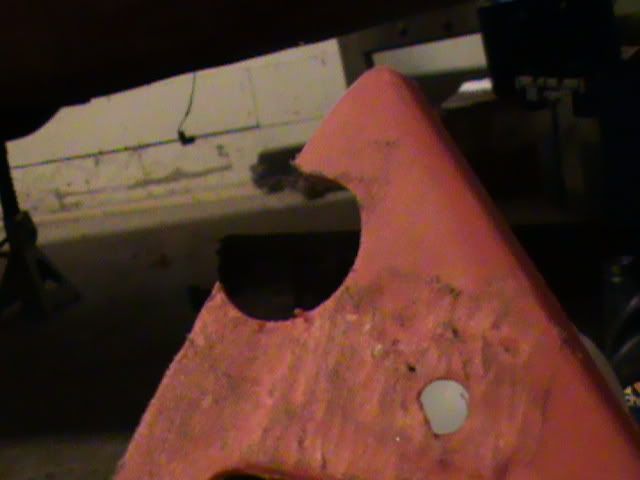
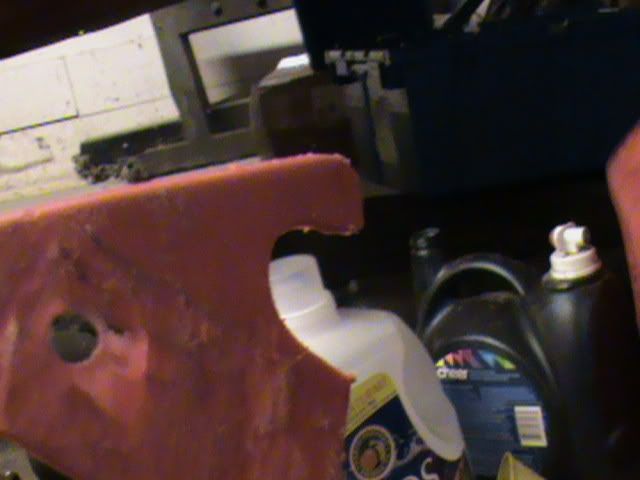
Step four: Remove the box and re-install the signals. Hold it up to the mounting points, and mark out how wide you need to cut the notch out on both sides. Now that you've done that, it needs to be cut 3/4" to 1" deep. Once it's cut so everything clears, go ahead and re-install your leg shield and floorboard.
Step five: Use the plastic filler to fill in the holes. Paint as necessary. Reinstall. I haven't done this yet, so this will be updated later on when I have time to post pictures and fill the holes up.
Step six: Rewire the signals using the exact opposite of how you removed the old ones.
OTHER PART TO GLOVEBOX MOD HERE: viewtopic.php?f=1&t=25673
Thanks for reading, and I hope this helps you. There are probably better ways to do this, using better tools and good stuff like that. I used what I had and what was easiest for me.
-Nick
OTHER PART TO GLOVEBOX MOD HERE: viewtopic.php?f=1&t=25673
*EDIT* FINALLY got the pics to work...
Parts checklist:
Hacksaw
Drill bits
Drill
Dremel w/sanding wheel
File
Sandpaper
Phillips screwdriver
Glovebox
Plastic filler/bondo
OPTIONAL:
'87 turn signals
If you're installing the 87 signals with the box, bolt them to the box. You only need to use steps 1,3,and 6.
Step one: Remove the front horn cover and remove the wires leading to the signals. There should be a single-to-dual wire connector with the single wire being green. That's your ground for both signals, disconnect the bullet connectors. Then there are a blue wire and an orange wire, disconnect them as well. Now remove the front signal brackets by removing the 4 bolts on the front plastic. Remove the bracket from the plastic. Pull the wires through the holes in the plastic.
Step two: Now that we have the signals off, let's go ahead and cut off the built-on signal mounts. I used a hacksaw and cut as close to the box as I could. Here's a picture showing after the sides were hacked off...
Now we need to use the Dremel to get the panel as smooth as possible. Use a low-medium speed, and don't just stay in one place. Go in a back-and-forth motion, taking off a little here, a little there. The better of a job you do now, the less you'll have to replace with plastic filler. Remember, you don't want to hack up the plastic, you just want to shave it off.
Step three: Remove the four floor panel bolts and remove the one bolt that holds the front leg-shield panel on. Pull off the leg shield. If you look on the decal side of the shield, You can see where the hole is supposed to be drilled for the glovebox... In the center of the ring. Use a 1/8" drill bit. Screw the glovebox on and drill the other two holes at the bottom of the box.
Step four: Remove the box and re-install the signals. Hold it up to the mounting points, and mark out how wide you need to cut the notch out on both sides. Now that you've done that, it needs to be cut 3/4" to 1" deep. Once it's cut so everything clears, go ahead and re-install your leg shield and floorboard.
Step five: Use the plastic filler to fill in the holes. Paint as necessary. Reinstall. I haven't done this yet, so this will be updated later on when I have time to post pictures and fill the holes up.
Step six: Rewire the signals using the exact opposite of how you removed the old ones.
OTHER PART TO GLOVEBOX MOD HERE: viewtopic.php?f=1&t=25673
Thanks for reading, and I hope this helps you. There are probably better ways to do this, using better tools and good stuff like that. I used what I had and what was easiest for me.
-Nick